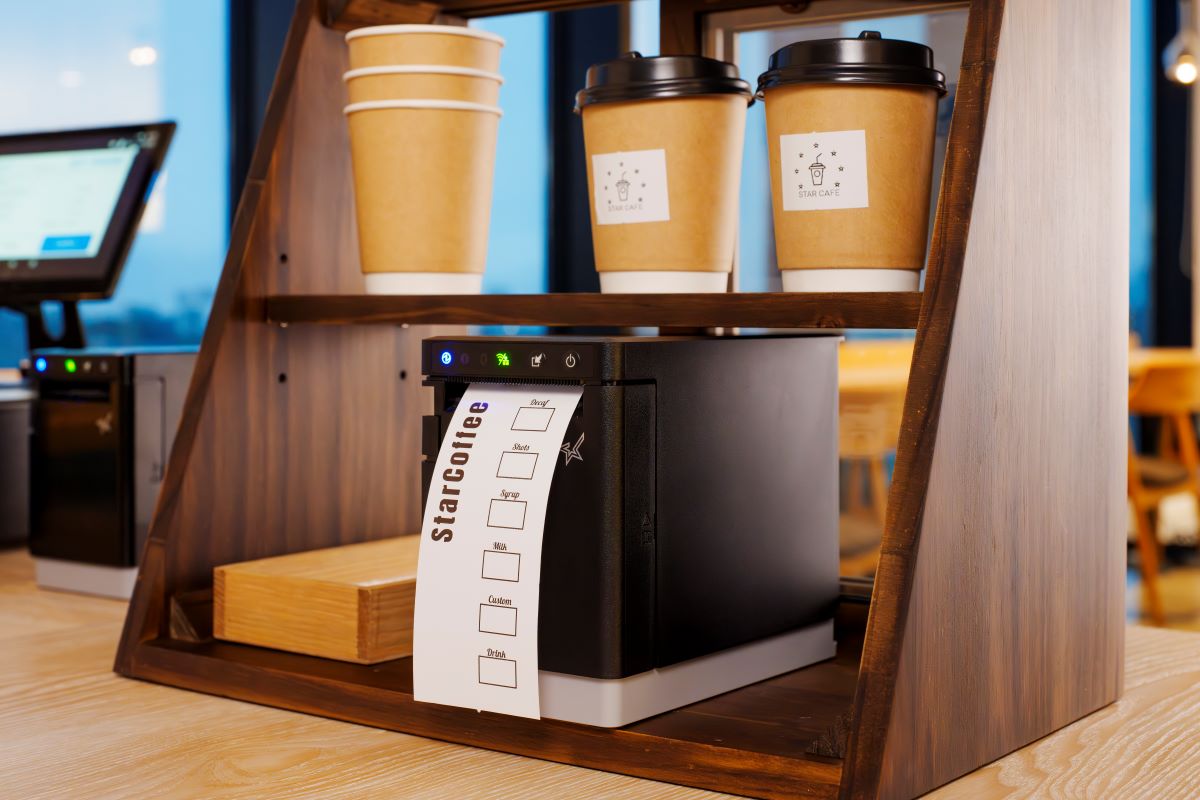
In a busy kitchen or retail environment, everything runs smoothly until it doesn’t. Orders are coming in, labels should be printing, and suddenly the printer slows down. Labels tear instead of separating cleanly. The cutter jams. Staff stop what they are doing to troubleshoot, and operations stall.
This is a common issue with many label printers. Adhesive buildup from labels accumulates over time, especially in high-volume environments or when switching between media types. As residue collects on the printer cutter, it can cause jams, miscuts, and inconsistent label output. When maintenance is delayed, performance declines and downtime increases.
Cleaning printers is a critical part of label printer maintenance for businesses that rely on accurate, consistent labeling. Multifunction printers handle linerless labels, die-cut labels, continuous media, and receipts, but they require regular cleaning to keep cutters operating properly.
This guide explains how to clean printer cutters, prevent adhesive buildup, and maintain reliable label printing in high-volume operations.
Table of Contents
What Is a Gummed-Up Printer Cutter?
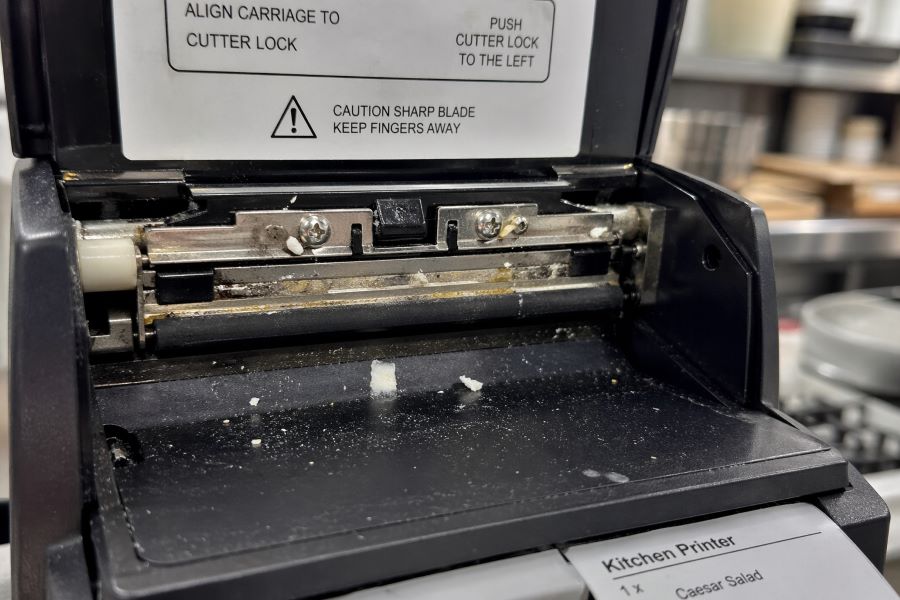
A gummed-up printer cutter occurs when adhesive residue builds up on the cutter blade. Over time, this residue collects paper dust and label debris.
As buildup increases, the cutter can become sticky, misaligned, or unable to cut cleanly. This leads to poor performance, inconsistent output, and eventual printer issues if left unaddressed.
How Often Should You Clean a Label Printer Cutter?
Cleaning frequency depends on print volume, media type, and overall label printer usage.
High-volume environments and linerless label usage typically require more frequent cleaning due to increased adhesive exposure. Linerless labels, in particular, apply adhesive across the entire label surface, which makes buildup more likely.
Rather than relying only on a fixed schedule, maintenance alerts are often a better approach. Alerts help ensure cleaning happens when it is actually needed, not too early and not too late.
The Risks of Not Regularly Cleaning Printers
Failing to clean printer cutters regularly can lead to a range of operational and mechanical issues:
- Incomplete cuts, where labels tear instead of separating cleanly
- Cutter jams that cause print queues to back up
- Increased strain on the cutter motor, leading to long-term wear
- Unexpected downtime that interrupts workflows and delays orders
- Reactive maintenance that pulls staff away from their primary tasks
- Workarounds that bypass labeling altogether, increasing the risk of errors, missing allergen information, or incorrect orders
- Damage to brand perception when operations appear inconsistent or unreliable
Over time, these issues compound. What starts as minor buildup can lead to more serious printer performance problems if not addressed early.
How to Clean a Label Printer Cutter
Keeping printer cutters clean is a simple process when done regularly. With the right approach, staff can remove adhesive buildup quickly and keep printers running without interruption.
1. Power Off and Open the Printer
- Turn off the printer before performing any maintenance.
- Open the printer cover to access the cutter area.
- Ensure the printer is stable and safe to handle before proceeding.
2. Locate the Cutter Blade and Surrounding Area
- Identify the cutter blade where labels or receipts are cut.
- Check for visible adhesive buildup, dust, or debris.
- Pay attention to edges where residue tends to collect.
3. Remove Adhesive Buildup
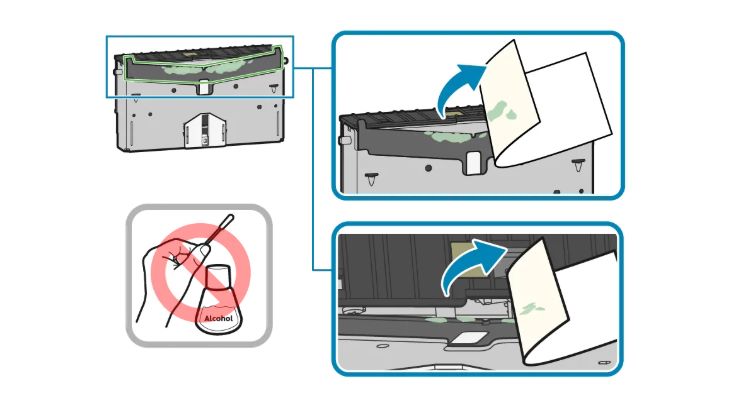
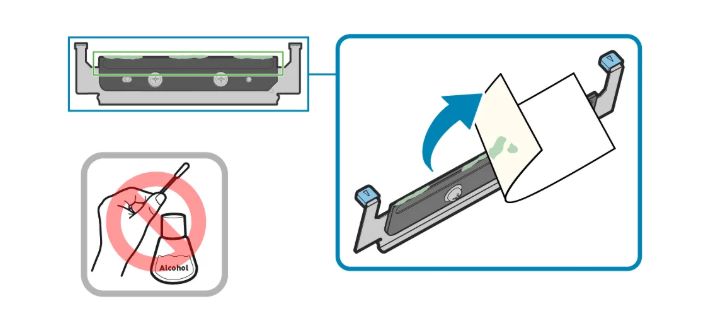
- Use the adhesive side of an unused label to lift gum and residue.
- Gently press and pull to remove buildup from the cutter surface.
- Avoid using sharp objects or abrasive materials.
4. Clear Loose Debris
- Remove any remaining paper dust or label fragments.
- Ensure the cutter area is free of obstructions.
- Keep the cleaning process controlled and precise.
5. Close the Printer and Test
- Close the printer securely after cleaning.
- Power the printer back on.
- Run a test print to confirm smooth, clean cuts.
Printer Cleaning Do’s and Don’ts
Do
- Follow manufacturer guidelines for cleaning and maintenance
- Clean printer cutters regularly, especially in high-volume or linerless environments
- Use approved methods, such as the adhesive side of a label, to remove buildup
- Perform cleaning in a controlled, well-lit area to ensure accuracy
Don’t
- Use sharp tools or abrasive materials that can damage the cutter
- Apply harsh chemicals that may affect printer components
- Attempt to clean the printer while it is powered on
- Ignore early signs of buildup, such as uneven cuts or minor jams
Best Practices for Cleaning Printer Cutters
Keeping printer cutters clean comes down to a few practical maintenance habits.
- Follow Maintenance Alerts, Not Just Schedules: Print volume can vary significantly. Built-in maintenance alerts help ensure cleaning happens at the right time, before performance issues begin.
- Make Cleaning Instructions Easy to Access: When cleaning is required, staff need clear, immediate guidance. Printers that provide quick access to step-by-step instructions make maintenance easier and more consistent.
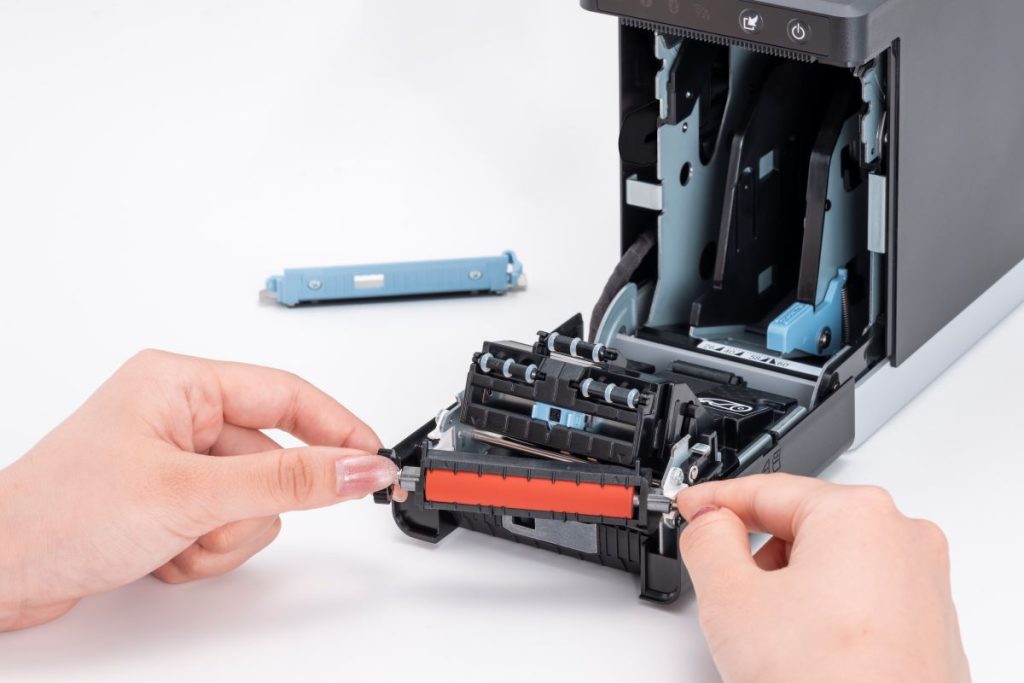
- Simplify the Cleaning Process: If maintenance is complicated, it will be delayed. Tool-free access and clearly designed components allow staff to clean printers quickly without relying on IT support.
- Replace Worn Parts Before They Fail: Even with regular cleaning, cutters and platens wear over time. Replacing these components proactively helps prevent jams and keeps printers performing reliably.
Printer Cleaning and Maintenance Made Easy with Star Micronics
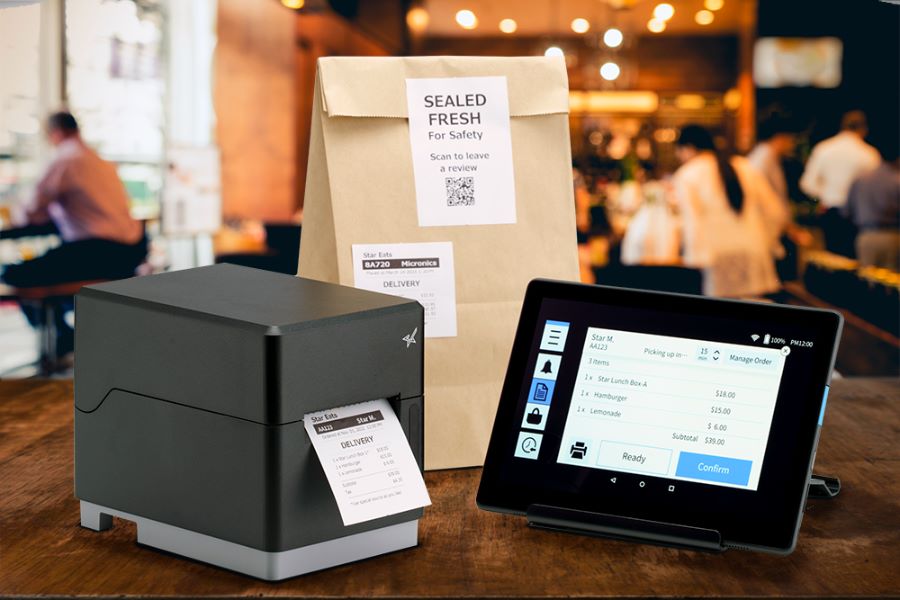
Keeping label printers clean should not require specialized training or disrupt daily operations. In high-volume environments, printer cleaning and maintenance need to be simple, repeatable, and built into normal workflows. Star printers are designed so routine label printer maintenance can be performed by staff in minutes, without tools, service calls, or operational delays.
The mC-Label2 and mC-Label3 multifunction label printers are built to support routine cleaning without technical expertise. Built-in maintenance alerts notify staff when attention is needed, helping prevent adhesive buildup before it impacts performance. When it’s time to clean, QR code-driven instructions provide immediate access to step-by-step guidance, so employees can act quickly and confidently.
Cleaning the printer cutter is straightforward. In many cases, staff can use the adhesive side of an unused label to remove gum and debris from the cutter. Tool-free, color-coded components make it easy to access, clean, and reassemble parts without delays or IT support.
- Replace worn cutters and platens quickly to extend printer life and reduce downtime
- Designed for high-volume environments and multi-media printing, where adhesive buildup is more likely
- Read the technical guide to learn more about how to clean and maintain mC-Label printers
With the right maintenance approach and tools, cleaning label printers becomes a quick, routine task instead of a source of downtime.
Want to learn more about how the mC-Label series helps reduce printer downtime? Read our blog, “Reduce Label Printer Downtime with Smarter Maintenance Tools.”
Contact us for a demonstration to see how easy printer cleaning and maintenance can be.
Frequently Asked Questions About Cleaning Printers
How often should you clean a printer cutter?
A printer cutter should be cleaned based on print volume and media type. High-volume environments and linerless label printing require more frequent cleaning due to adhesive buildup. Maintenance alerts help ensure cleaning happens at the right time.
What causes a label printer cutter to become gummed up?
A label printer cutter becomes gummed up when adhesive residue builds up on the cutter blade. This residue collects paper dust and debris, causing the cutter to become sticky, misaligned, or unable to cut cleanly.
What happens if you do not clean a printer cutter?
A dirty printer cutter causes incomplete cuts, label tearing, and frequent jams. Over time, this increases wear on the cutter mechanism and leads to downtime that disrupts labeling workflows.
How do you clean a label printer cutter?
To clean a label printer cutter, use the adhesive side of an unused label to remove buildup from the cutter blade. Always follow manufacturer instructions and ensure the printer is powered off before cleaning.
Do linerless labels require more printer maintenance?
Yes. Linerless labels apply adhesive across the entire label surface, increasing the likelihood of buildup on the printer cutter. More frequent printer cutter cleaning is required in these environments.
Can employees clean printer cutters without technical training?
Yes. Printers designed with tool-free access and guided instructions allow staff to perform printer cutter cleaning without technical training or IT support.
When should you replace a printer cutter or platen?
Replace a printer cutter or platen when cleaning no longer resolves cutting issues, or when consistent jams and uneven cuts occur.
How can businesses reduce printer downtime caused by cutter issues?
Businesses can reduce printer downtime by performing regular printer cutter cleaning, following maintenance alerts, and replacing worn parts proactively. Using printers designed for easy maintenance improves consistency and reliability.
Leave a Reply